# Login Logout
## Login
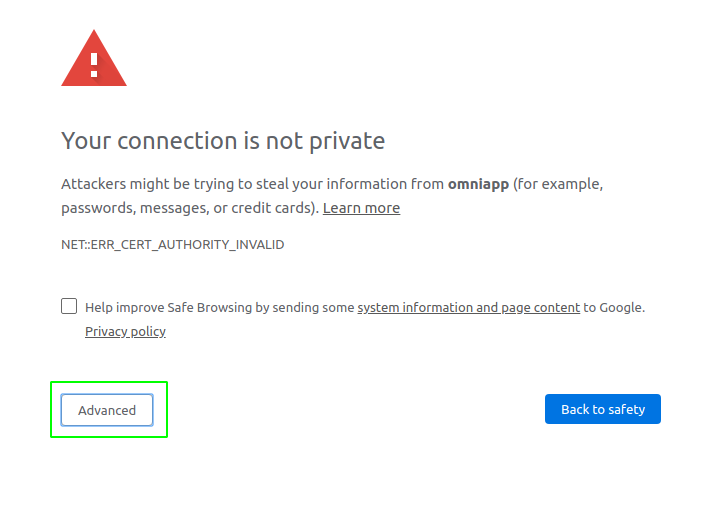
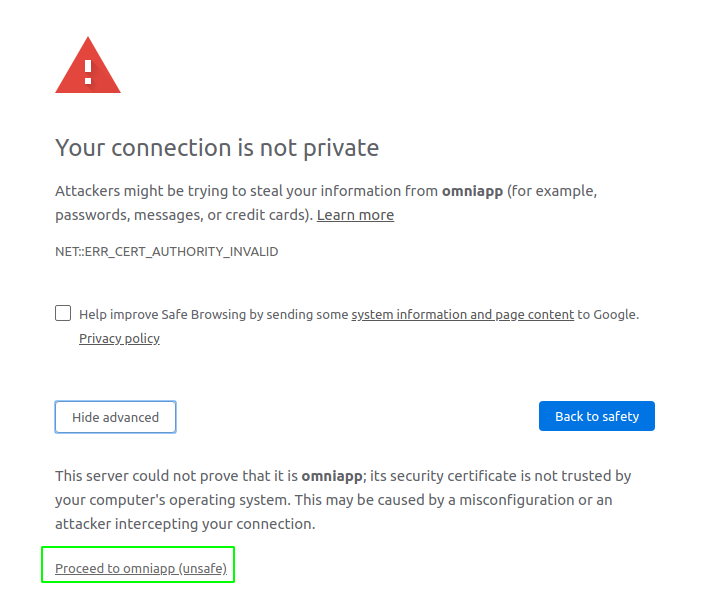
To access the application, enter the URL of your OMniLeads instance in your browser. If the OMniLeads instance does not have commercial certificates, when logging into the system, the user encounters the security warning corresponding to accessing an HTTPS site with a self-signed certificate. In this case, simply accept the warning and continue, as indicated in the following figures:
Figure 1: Untrusted certificate
Figure 2: Untrusted certificate
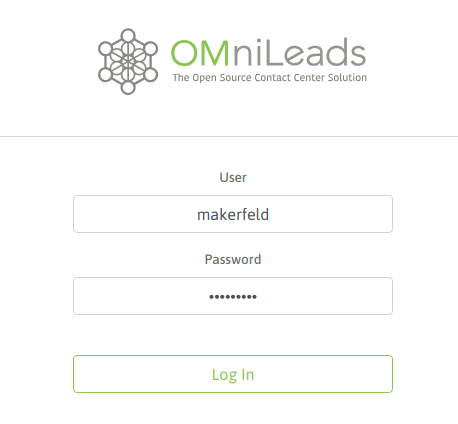
When you move on to the site, the login screen is displayed, where the agent must enter his username and password to access the application:
Figure 3: Login screen \
\
After a successful login, the agent interface is displayed. The first thing that should happen is a browser warning notifying that OMniLeads wants to access the computer's microphone. Of course, the user must allow this action, since the microphone is needed to use the application when managing calls. This is shown below:
Figure 4: Microphone access permission \
\
By allowing access to the microphone, the rest of the login process is then carried out. This involves playing an "audio" over the agent's headset announcing successful login. If the microphone is not functional in the system (either due to a voluntary or involuntary action by the agent), a warning sign will be displayed preventing the correct login to the platform:
For the latter case, the Supervisor and/or Administrator will have the ability to verify the incorrect status of the agent from the Agent Supervision view (Disabled-Unavailable):
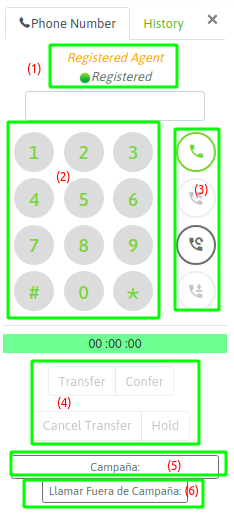
On the other hand, the agent must see the webphone displayed and in the "Registered" status as indicated in the following figure:
Figure 5: Agent registered to the system
## Agent Console
The agent console is the component through which the OMniLeads agent can perform all management. In the following figure, you can see its appearance and it was also dissected into sub-components that are explained below:
Figure 6: OMniLeads Agent Console
**Agent Dashboard**
When the agent enters the site, he will see in the content space a view in the form of a Dashboard (component 3) that shows the following agent statistics for the current day:
* The list of the last 10 calls received/made.
* The number of calls connected and a pie chart, showing the relationship between incoming and outgoing calls.
* The total break times the agent has had and a pie chart showing the relationship between the agent's total session time and the total break time, discriminating between Recreational Breaks and Productive Breaks.
* The number of management ratings the agent has made and a pie chart showing the relationship between the management ratings made and, of them, those marked as observed by an audit.
This dashboard is updated periodically and allows the agent to have personalized information about their performance on the current day. Finally, it is important to note that the list of calls displayed on the dashboard shows information about their rating (if the call has been rated) and even the value of the management, in addition to allowing these values to be modified and a call to the contact to be made through the dialed number shown in the record.
*Figura 7: Dashboard*
**1)** Contact Management Dashboard and Views
In addition to the previously explained Dashboard, this component contains the functionalities that allow you to navigate between the contacts in the campaign database, view the contacts scheduled to be called in the future, list the history of all the ratings that the agent has made, and also access the preview campaigns to request contacts to manage. It is also possible to search and filter the agent's own recordings in order to support their operations. It is important to mention that each view described in this block can be treated as a Group privilege, and thus control its appearance or hiding in the agent's console. All these aspects will be expanded in the next sections.
**2) Status bar**
In this bar we have information about the session. In the status bar there are 2 timers that count the sum of the time the agent is on pause and in the Ready state. Its color changes depending on whether the agent is in the "Ready" state (gray), "On call" (green) or "On pause" (yellow), and the status also appears as a legend. Finally, the pause and un-pause buttons appear, so that the agent can go to and from pause. If the Agent is assigned to preview campaigns, a button is attached that allows a quick "pulling" of contacts to speed up management and works as a shortcut to the Preview Campaigns view.
**3) Operations view**
In this section of the screen, all the information that the agent requests while browsing through contact management appears, as well as the contact data at the time the agent processes a new call.
**4) Webphone**
The OMniLeads webphone is the main component within the telephony module. Let's review its buttons below:
Figure 9: Webphone
Let's divide the webphone into 6 parts:
1. Webphone status. It should always be listed as Registered. If not, you should contact the administrator.
2. Dialpad for dialing manual calls or sending DTMFs over a connected call.
3. These buttons allow you to trigger actions such as calling, hanging up, redialing the last number on one hand, and the fourth button is a method to "mark" the call recording with a comment.
4. This series of buttons allows the agent to perform actions such as transferring a call, holding a conference with a third party, and putting the call on hold.
5. This button allows you to modify the campaign on which each manual call is processed. This will also be discussed later in the “manual campaigns” section.
6. This button allows you to make a call to another agent, as well as to make an outgoing call to an external number WITHOUT being associated with any campaign.
Most of these features are expanded upon in the relevant sections of this documentation.
**5) Toolbar Omnicanal**
The omnichannel toolbar exposes each communication tool. In the latest stable market version, OMniLeads brings the Voice Channel, the WhatsApp Business Channel and the Video Channel activated (only in the Enterprise version).
## Pauses
The agent can enter pause mode so that no incoming or predictive campaign calls can reach him. As explained in the “Initial Configuration” section, there are different types of pauses that the administrator can generate and maintain in the system. Therefore, when the agent enters the pause state, he must indicate which type of pause he wants. To enter a pause, the “Pause” button must be clicked within the agent status bar:
Figure 10: Pause
The pause type selection menu is then displayed:
Figure 11: Pause type \
\
Finally, the agent enters a pause. You can notice how the status bar changes to yellow, and the current pause type can be read on the same bar. Finally, you can see that the pause timer starts running, while the operation timer stops:
Figure 12: On pause
## Password update
For security reasons, the Agent has the ability to change the password from his own Operation Console whenever he wants. This frees the Supervisor from administrative tasks. To do so, he must access the top right corner of his User Profile and click on "Update Password".
This action will allow you to modify it instantly from the display of the following view:
## Logout
To log out, you must access the top right corner, as shown in the following figure:
Figure 13: Agent Logout
---
# Agent Instructions: Querying This Documentation
If you need additional information that is not directly available in this page, you can query the documentation dynamically by asking a question.
Perform an HTTP GET request on the current page URL with the `ask` query parameter:
```
GET https://docs.omnileads.net/english/agent-handbook/login-logout.md?ask=
```
The question should be specific, self-contained, and written in natural language.
The response will contain a direct answer to the question and relevant excerpts and sources from the documentation.
Use this mechanism when the answer is not explicitly present in the current page, you need clarification or additional context, or you want to retrieve related documentation sections.