Throughout this section we will be discussing procedures that involve resetting the passwords used in the deployment through the inventory file. As is known, this file is edited at the time of installation, but later returns to its original state leaving all the variables and their values available as operating system environment variables.
To consult these variables we can execute a cat on the /etc/profile.d/omnileads_envars.sh file of the omlapp Container:
This way the administrator will be able to use all these operating parameters whenever he wants.
Important: Do not edit this file under any conditionsConfiguración del módulo de Discador predictivo
Note
First of all, please note that if the OML instance deployed in the previous steps does NOT contemplate the use of predictive outbound dialing campaigns, this step can be skipped.
OMniLeads requires a third-party tool to implement predictive dialer campaigns. This tool is based on commercial software licenses that must be managed with the manufacturer. In any case, the system can be used with a test channel that is provided as a demo.
Therefore, we can configure the component and run proof of concept before acquiring licenses for real operation. If you want to run predictive campaigns, you must install Wombat Dialer on a separate host according to the manufacturer's official documentation. After that, generate the basic Wombat Dialer configuration for the integration.
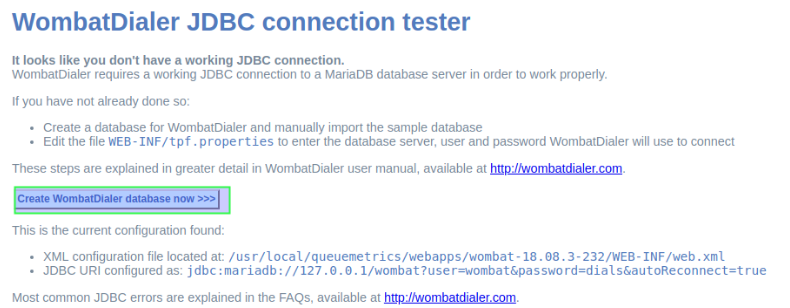
To generate this configuration, we must follow a series of steps that begin with accessing the corresponding URL.
When you log in for the first time, you must proceed with the creation of the MariaDB database that Wombat Dialer uses. Click on the button highlighted in Figure 1.
Figure 1: DB create
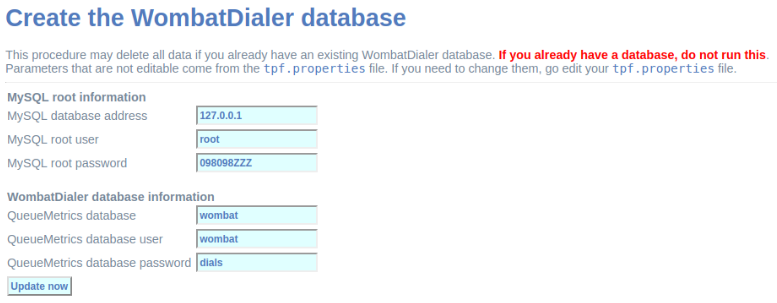
Then it is time to enter the MySQL root user password and click on the button highlighted in figure 2.
NOTE
Starting with version 1.6.0 OMniLeads does not set the MySQL root user password, leave this field empty. Unless the Administrator has generated a MySQL root password.
We then proceed with the creation of the MySQL database that the Wombat Dialer component will use from now on.
IMPORTANT: In the example, the "MySQL database address" field must be modified from 127.0.0.1 to the IP of the host where Wombat Dialer has been installed.
Figure 2: MySQL root password
First login
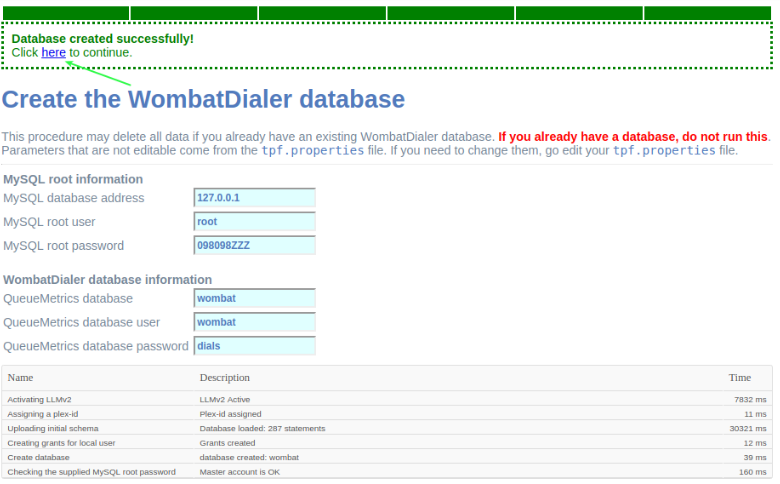
Once the MariaDB database used by Wombat Dialer has been created, the first login is performed.
Figure 3: Login post db create
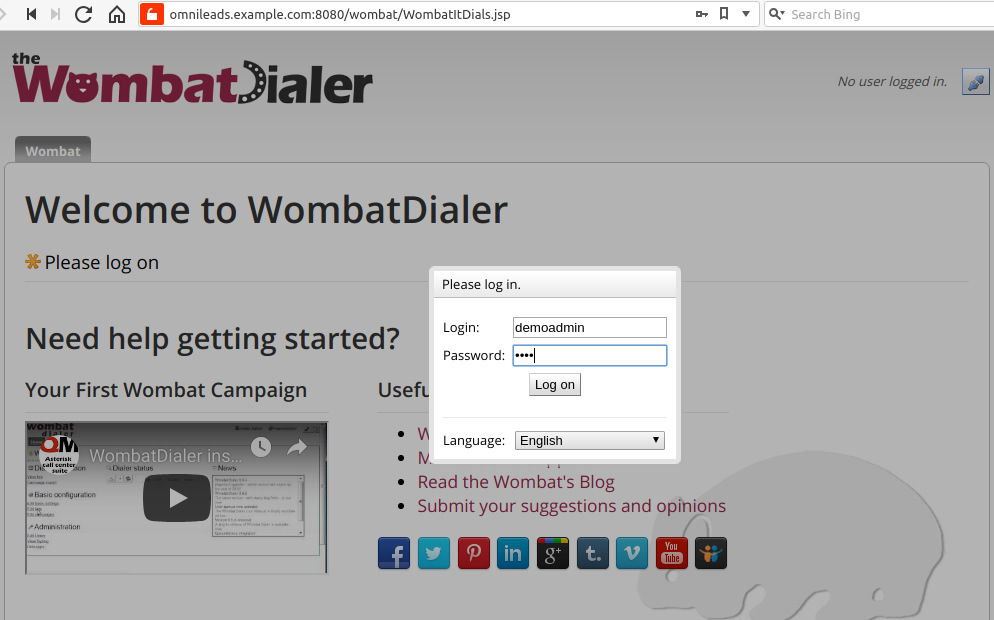
Next, you must log in to the Wombat Dialer administration interface to proceed with the configuration of the parameters necessary for interaction with OML.
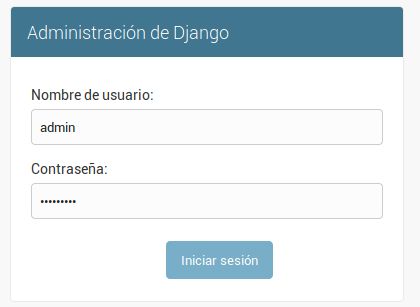
Upon entering, a screen like the following is displayed, where you must access with the user and passwords that were generated during the installation.
Figure 4: Access to WD
Changing web credentials
By default Wombat Dialer comes with the web credentials demoadmin as user and demo as pass. These credentials can be changed, to do this:
First, the credentials must be defined in the inventory file, they are the variables dialer_user and dialer_password. See about_install_inventory_vars.
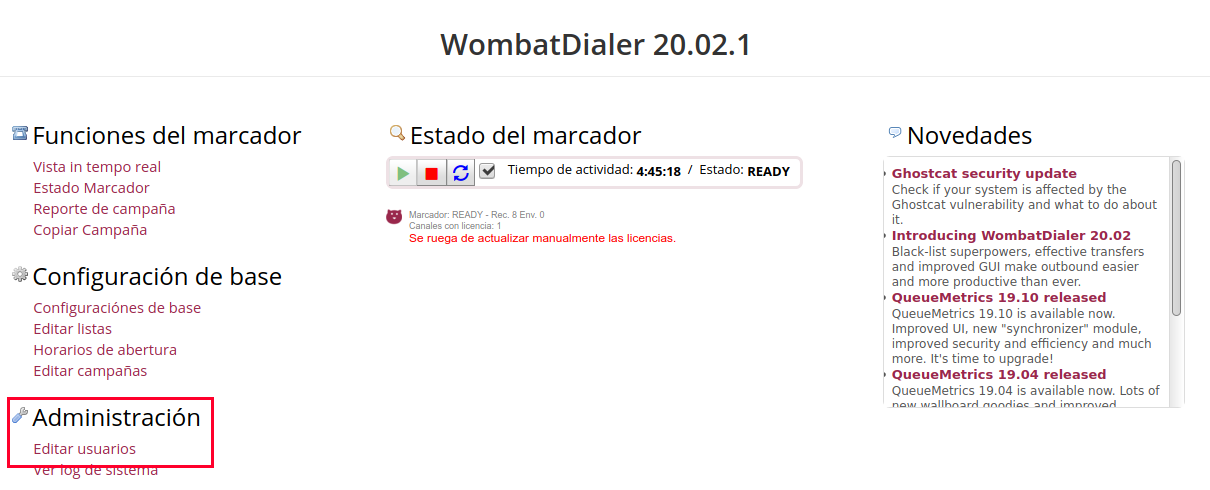
Log in to Wombat Dialer via web, and go to Administration -> Edit users.
Figure 5: WD change credentials
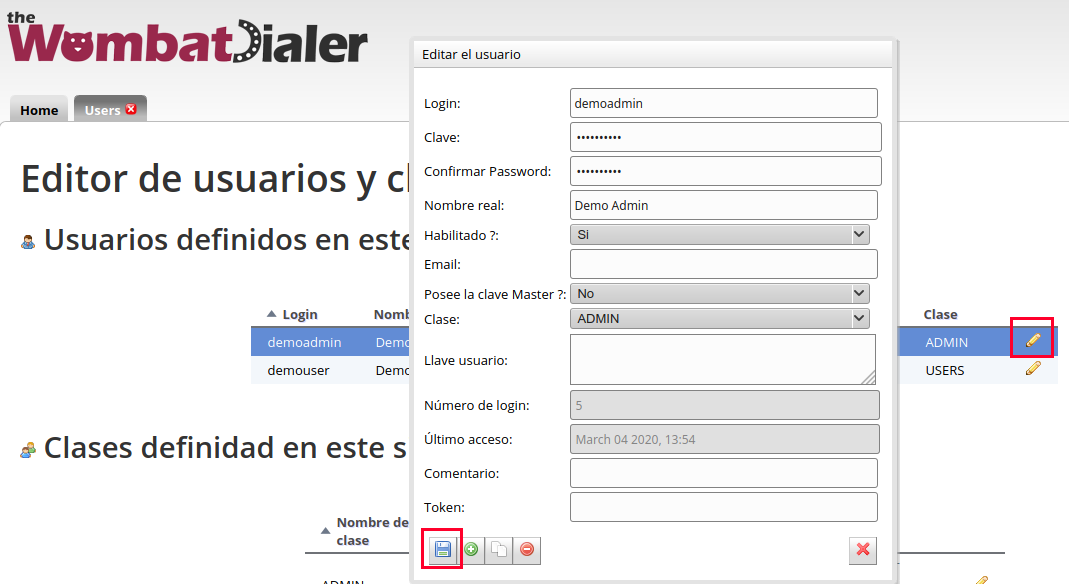
There you can see the demoadmin user, click on the pencil icon, change the user in Login to the same user entered in the dialer_user variable, enter the same password entered in dialer_password.
Finally click on the Save button.
Figure 6: WD change credentials 2
Once finished, reload the page and log in with the new credentials.
AMI Credentials
Note
Starting with release-1.8.0, keep this in mind Wombat Dialer will use separate AMI credentials than OMniLeads, so a wombatami user is created in the oml_manager.conf file.
The password for this AMI user is changed based on what the user entered in the ami_password parameter in the inventory file. By default it looks like this:
Basic Parameters
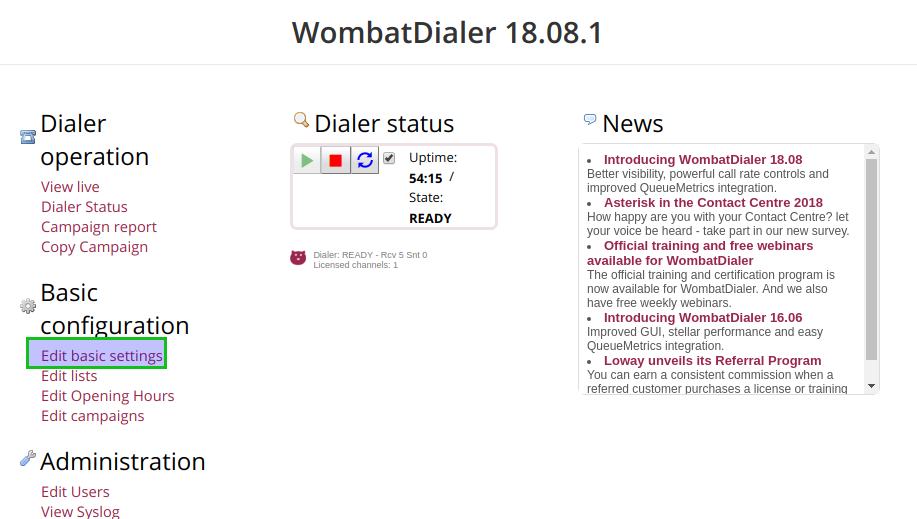
Once inside the system, we proceed to configure two basic parameters necessary to prepare the integration with OMniLeads. To do this, we must access the “Basic Configuration” menu as indicated in Figure 7.
Figure 7: WD basic config
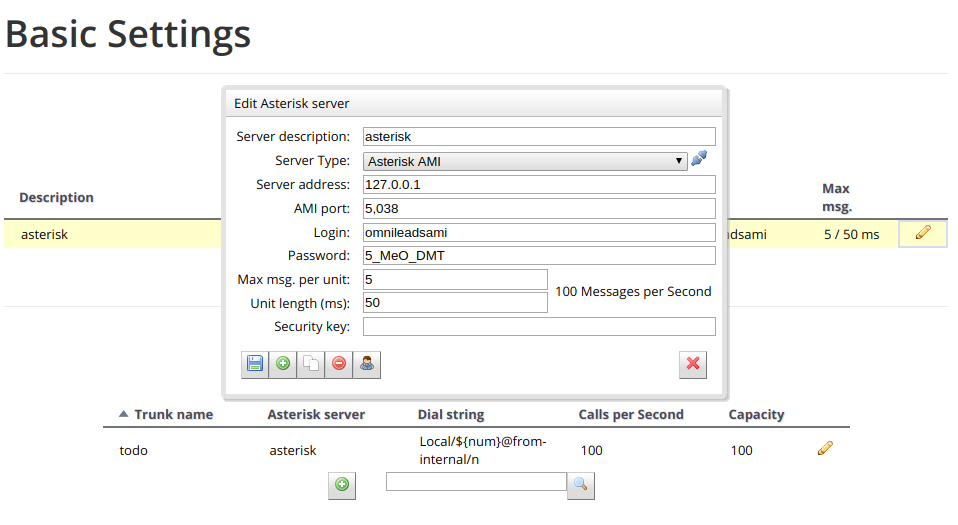
In this menu, a new connection instance must first be generated within the “Asterisk Servers” section as shown in Figure 8.
Figure 8: WD basic config - AMI Asterisk
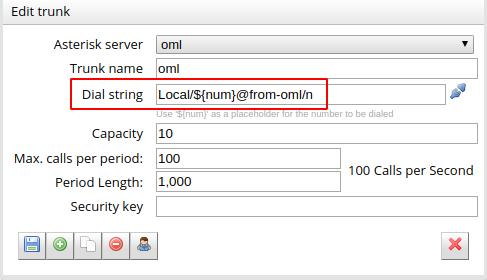
In the next step, a Trunk is configured using an arbitrary “Trunk Name”, but with the calling chain marked in Figure 9. Local/${num}@from-oml/n
Figure 9: WD basic config - Asterisk Trunk
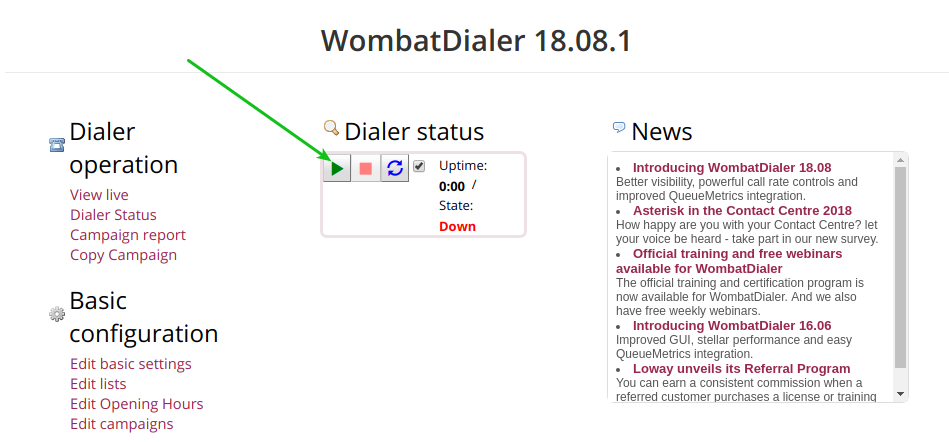
Finally, remember to press “play” on the dialer service, as indicated in the following figure 10.
Figure 10: WD activate
Finally, the platform is enabled to manage predictive calls. The default installation includes a Wombat Dialer demo license for one channel.
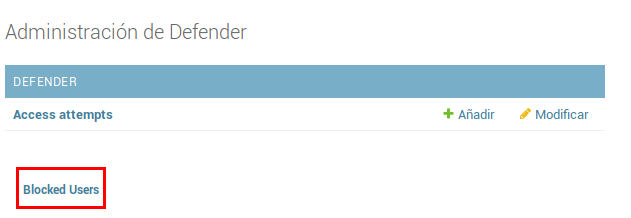
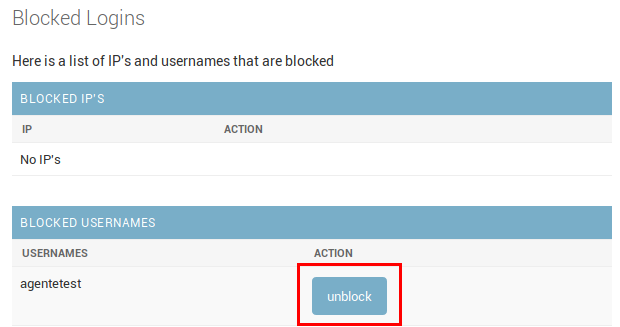
Unlocking users
OMniLeads has a user blocking system, when a user enters the wrong password three times. This is a security measure implemented to avoid brute force attacks on the platform's login console. The administrator user has the possibility of unblocking a user who has been blocked for accidentally entering the wrong password.