Development Enviroment Deploy
It is required to have Docker-Engine installed in the development environment to be deployed (from now on, "devenv"). It can be deployed on different operating systems, such as Linux, Mac, or Windows.
Next, proceed to clone the repository to work on its configuration and deployment. It is important to access the development-env directory to execute the deploy:
git clone https://gitlab.com/omnileads/omldeploytool.git
cd omldeploytool/development-env/
The OMniLeads development environment ("devenv") uses a docker-compose.yml file that maps certain repositories within specific containers.
We take Django's code as an example; there you can observe how the code within the app service is mapped.
volumes:
  - ${REPO_PATH}/omlapp/:/opt/omnileads/ominicontacto/
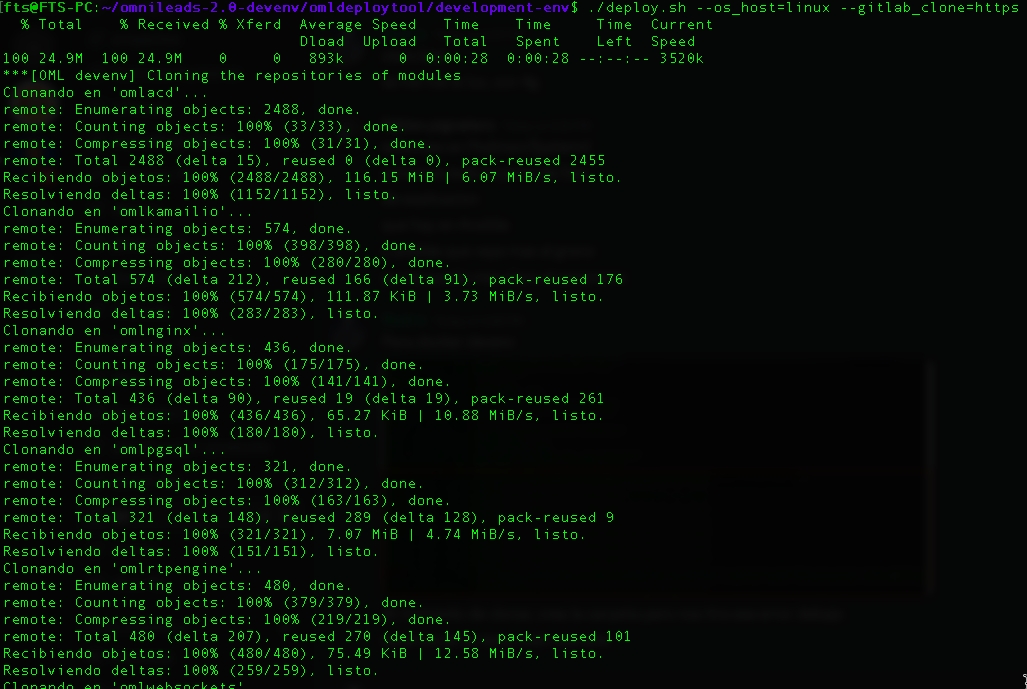
To set up the development environment, the deploy.sh script must be run only once as indicated below: The deployment of the environment involves creating a directory named omnileads-repos to clone all the repositories of the OMniLeads components.
$ ./deploy.sh --os_host= --gitlab_clone=Below is an example output when using the "https" cloning method, and the corresponding container launches:
In addition to cloning the repositories, the deploy.sh script is responsible for setting up MinIO (Object Storage) so that recordings and media_root (Django) operate under a bucket provided by the MinIO service.
Where os_host can be: "linux", "mac", or "win". While gitlab_clone can be "ssh" or "https" for choosing the method used to clone the repositories.

Django pass reset
Start enviroment with test data
Variables
All the variables involved in the docker-compose can be read/edited in the .env file.
Image build
The services: nginx, rtpengine, acd (asterisk), kamailio, and app can be built from the compose. For example:
For more information, we suggest visiting the documentation at the official project repository. You can review the necessary steps to obtain the first access to the UI with an Admin user in the First Login section.
Last updated